Lightroom “Save Metadata to File” explained
In this article, I’ll show you how to keep adjustments made in Lightroom when opening the same image back into Photoshop.
Suppose you are in Lightroom. You want to open your edited image into Photoshop for further editing adjustments. This approach will help you not loosing anything along the way. The goal is to find your Lightroom edited image as an exact visual copy when into Photoshop.
This is the image edited in Ligthroom that we want to send to Photoshop.


Considering the Raw file image “_MG_2238 copy.CR2“
It’s sitting on its own, in its folder, on the hard drive.
Note: do not rely upon the colors of its thumbnail. It might be confusing but it’s a good recommendation. This is just to show that the Raw file (.CR2) is all alone for now.

Before we dive in, let’s check a few settings first
- In Lightroom Classic, go to “Preferences”, then in the tab “External Editing” you should have something like this:
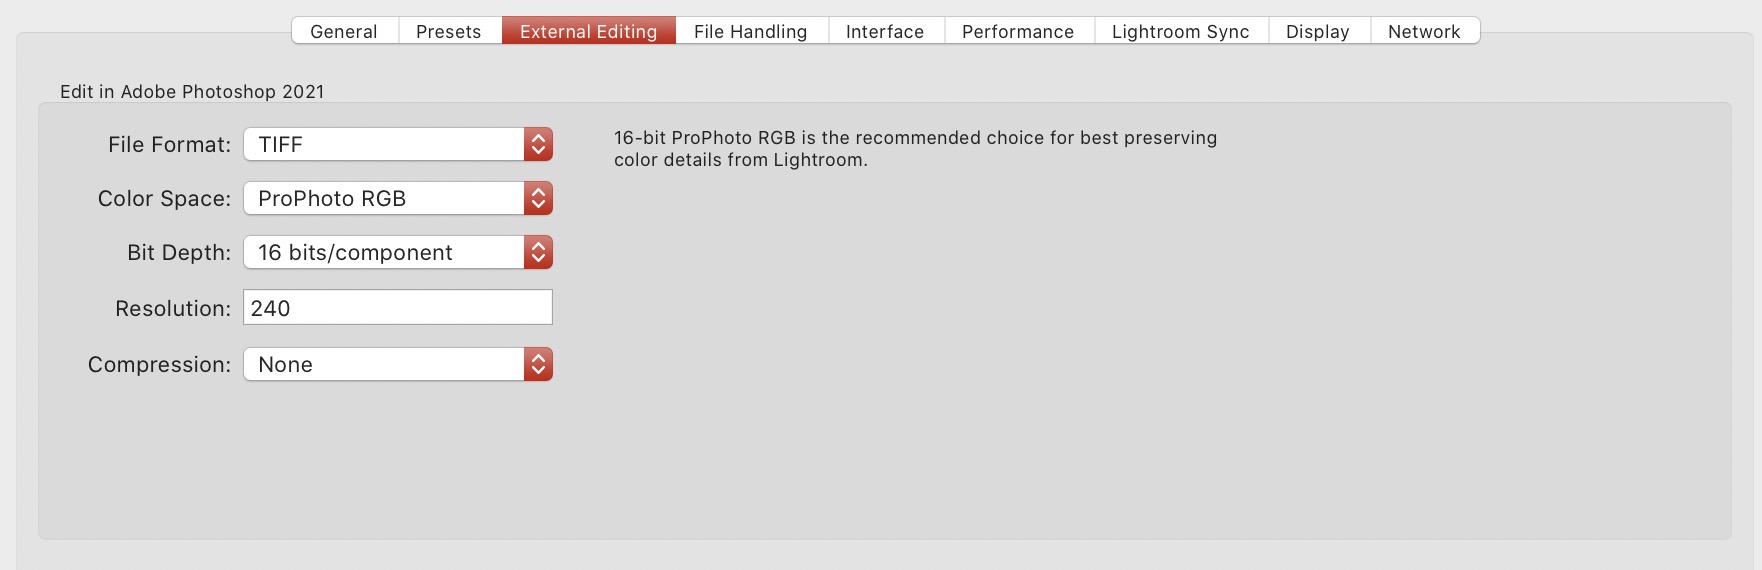
If not, these settings are recommended…
- In Lightroom Classic, go to “Catalog Settings“. In the “Metadata” tab, these are the parameters you should see:
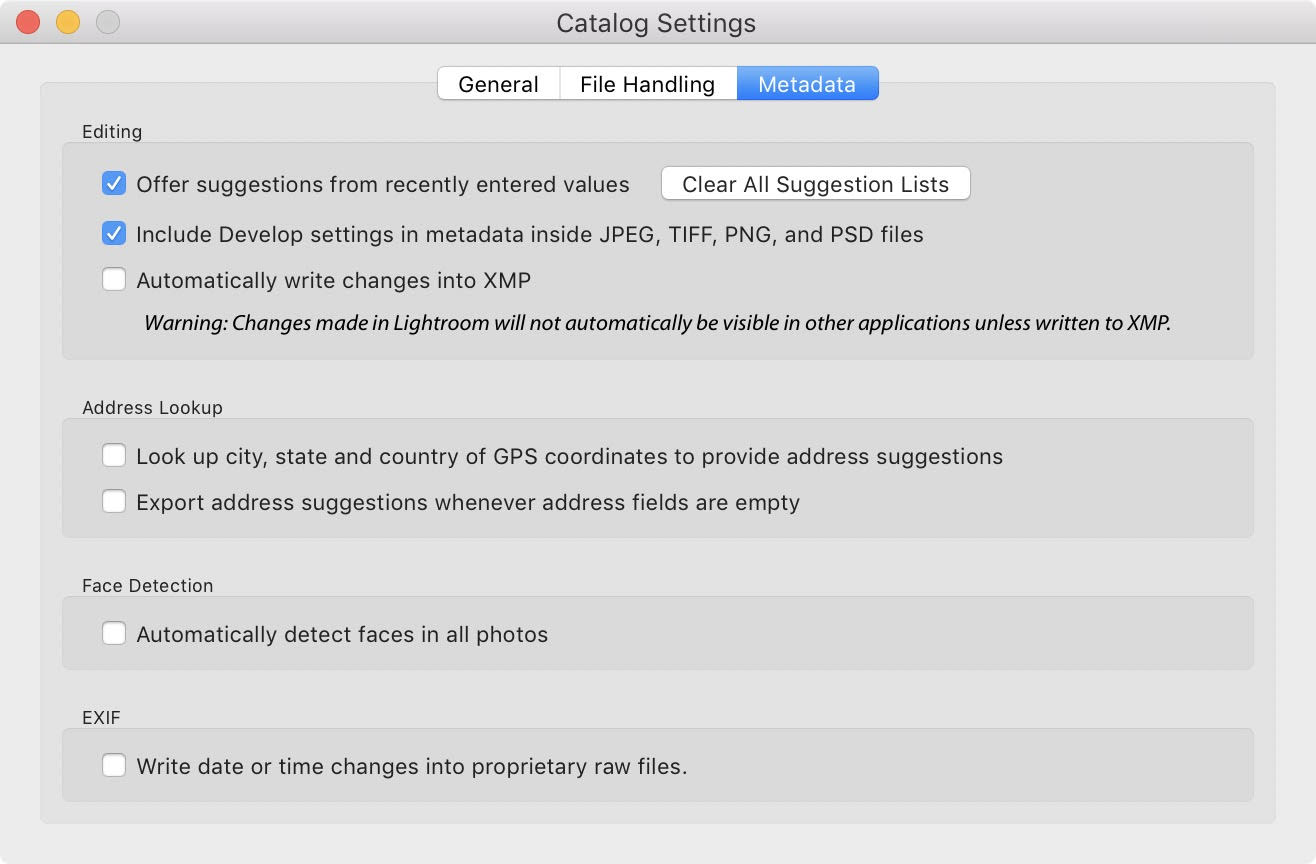
In Lightroom, there is a concept of Database and Catalog. This is why we need to check these settings. Now that we’re good on the settings, let’s move on.
How to open an image from Lightroom into Photoshop?
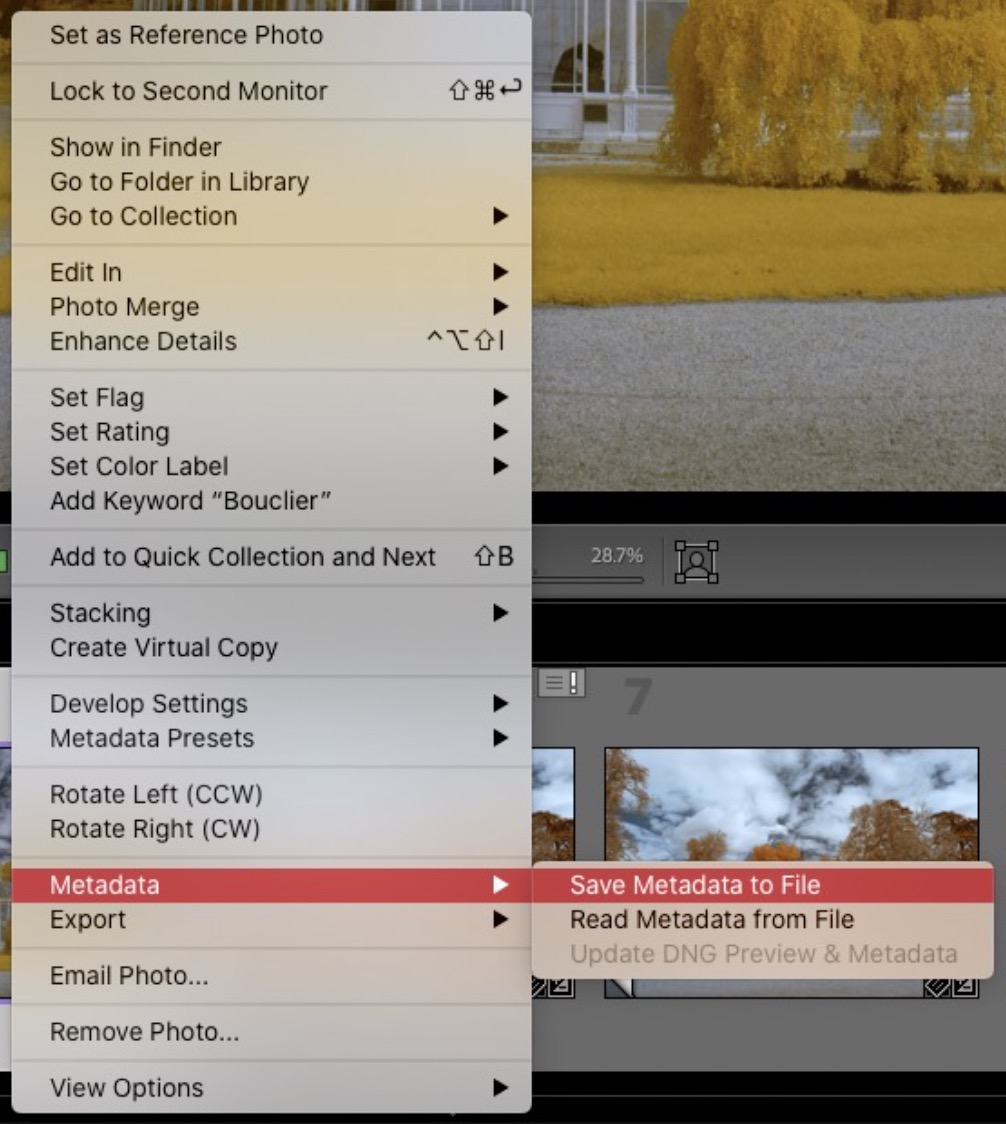
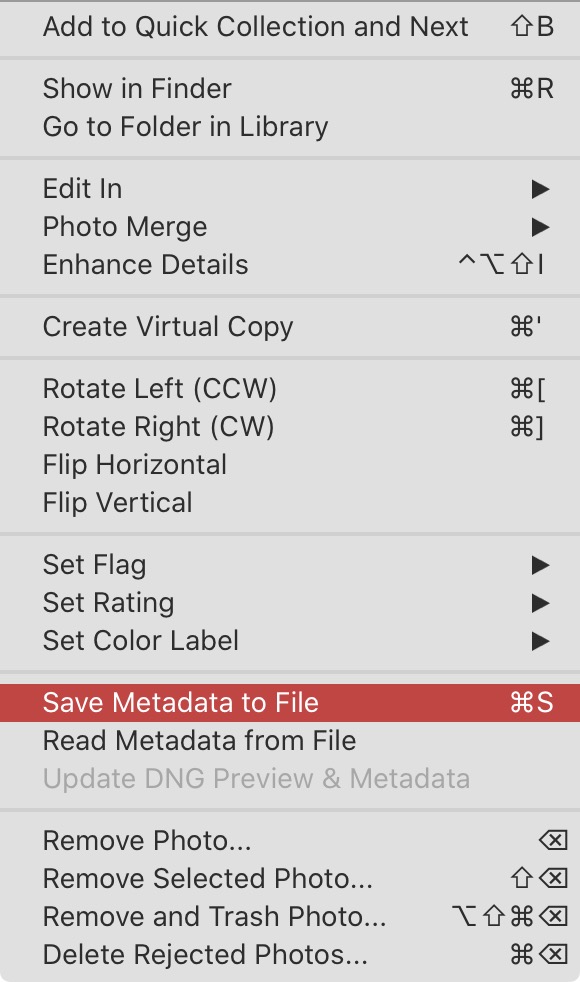
- In the “Library” module, right-click your image
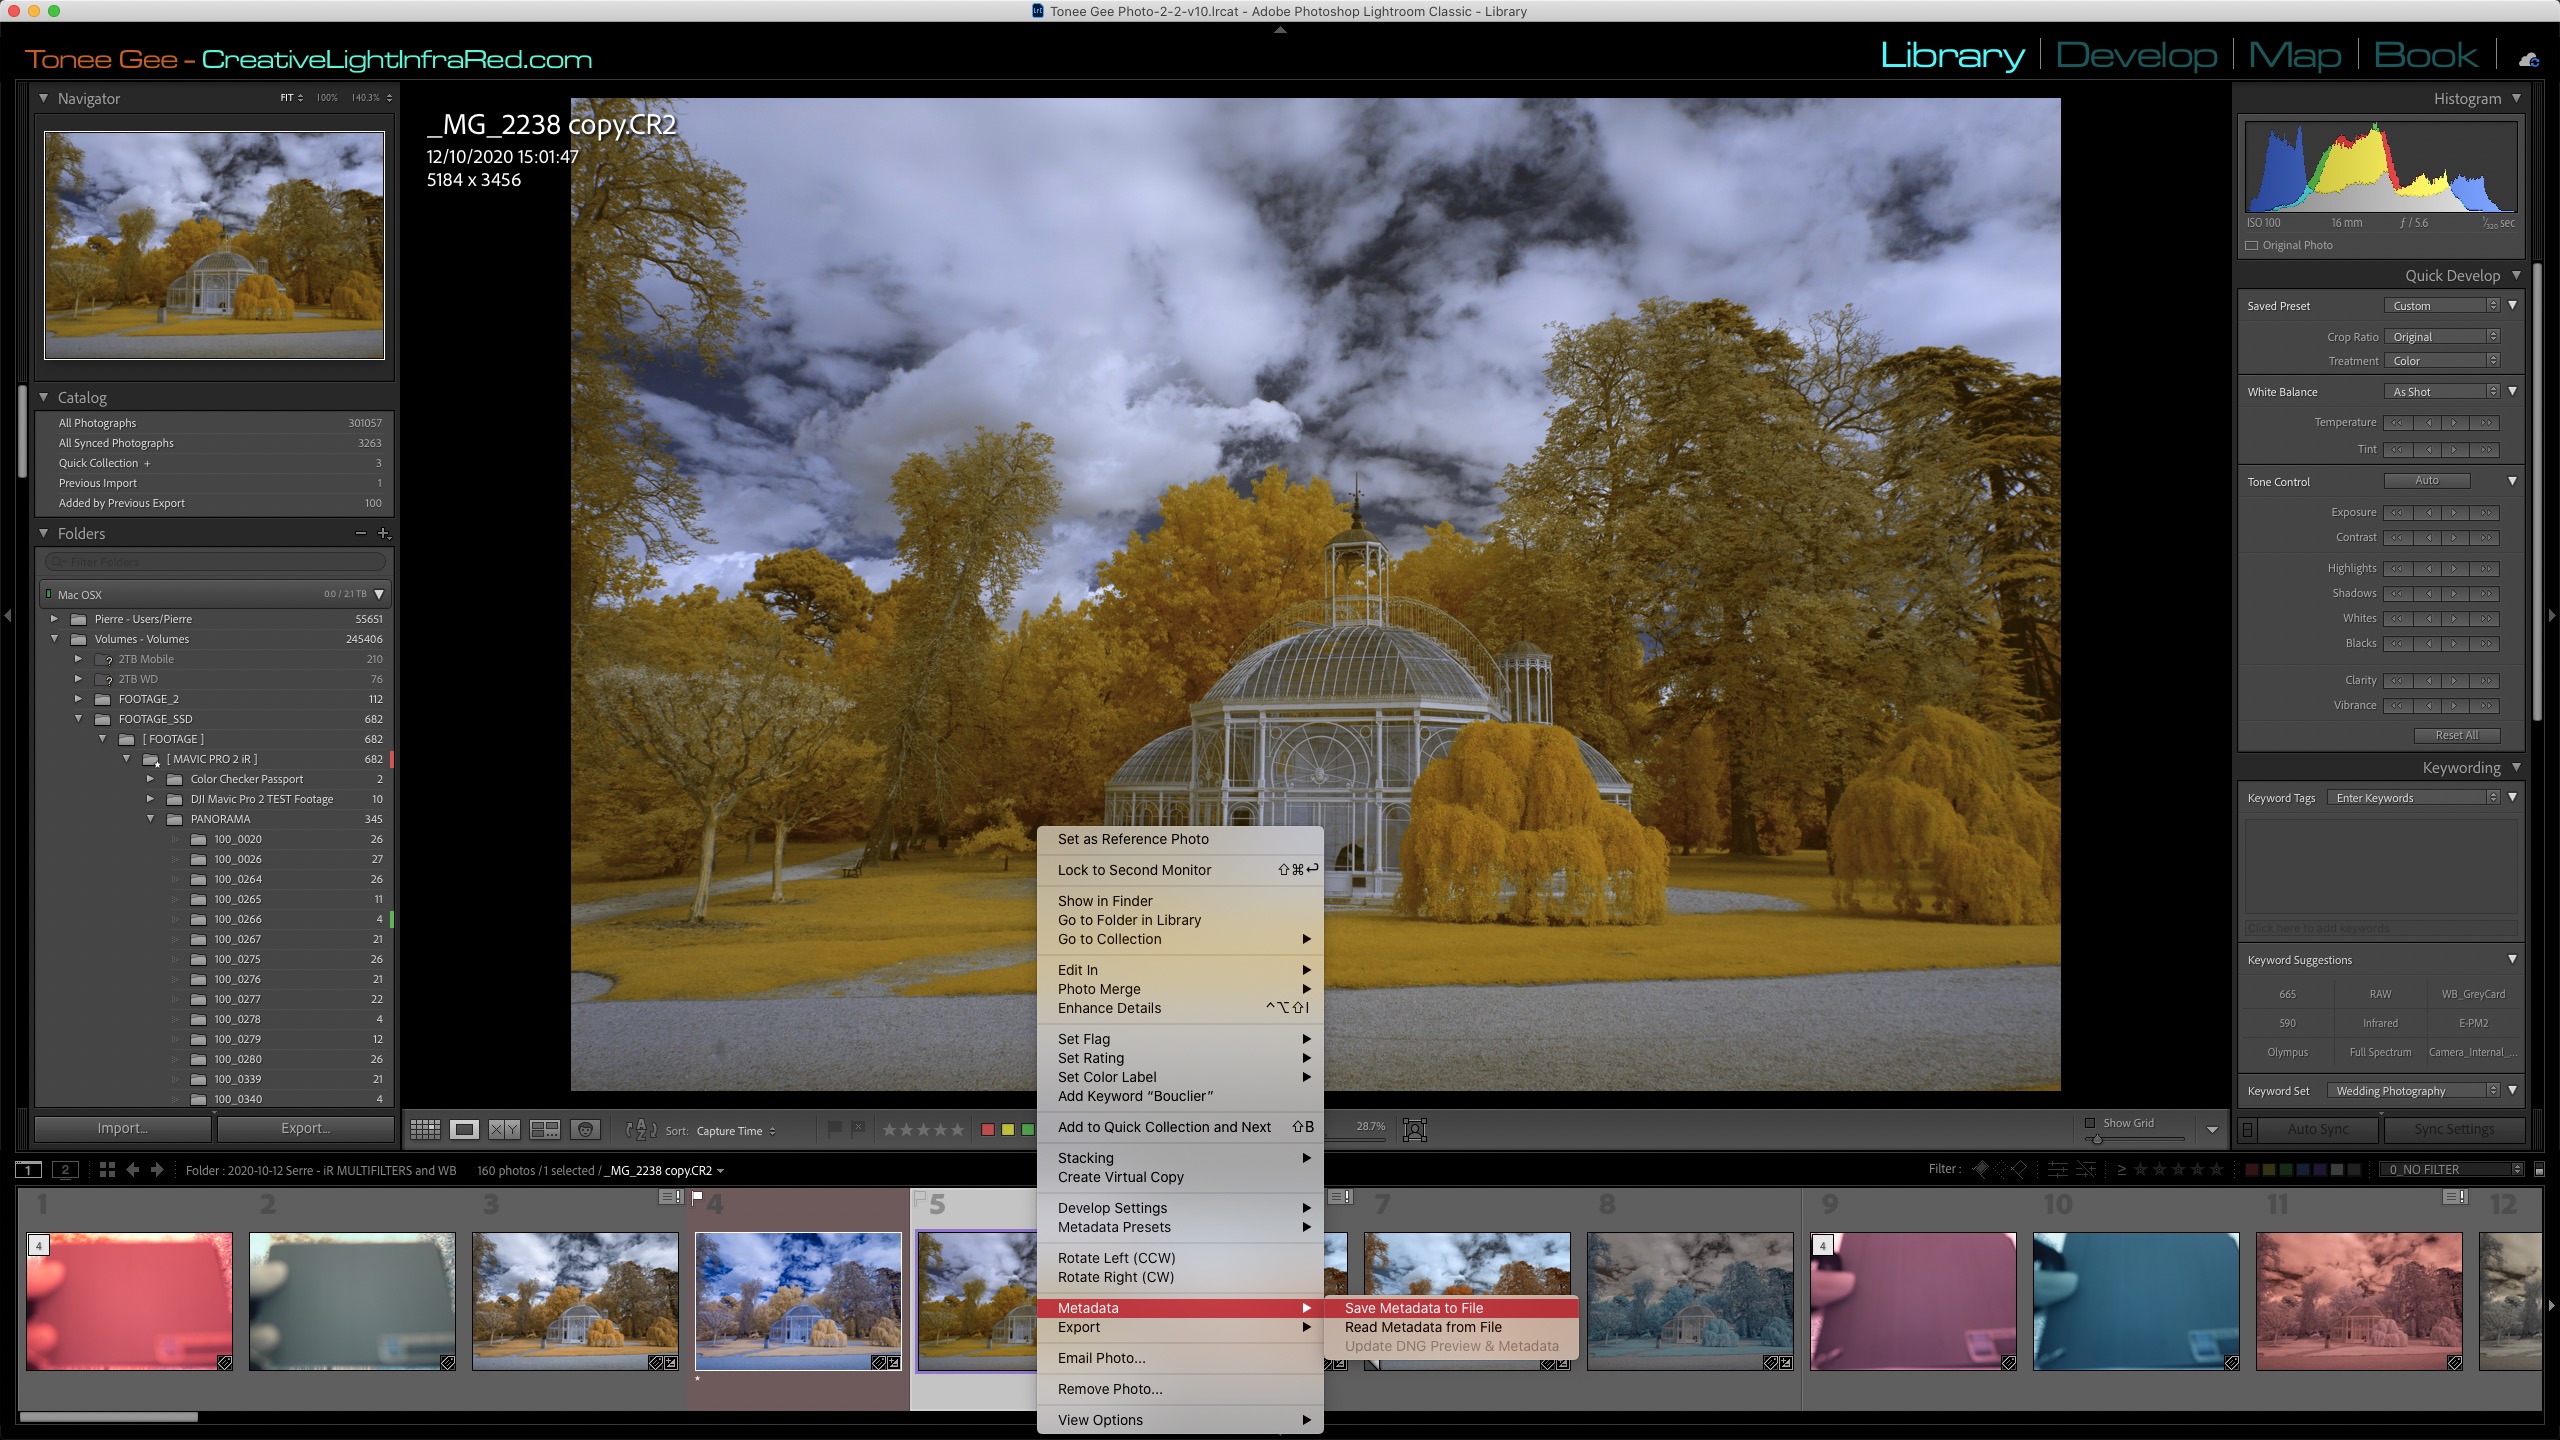
- Choose “Metadata” > “Save Metadata to File“
✅ Done !
Is there is another way to do it ?
Sure ! Here’s an alternative.
- In the “Library” module, select the image you want to edit
- Click “Metadata” in top menu item
- Click “Save Metadata to File“
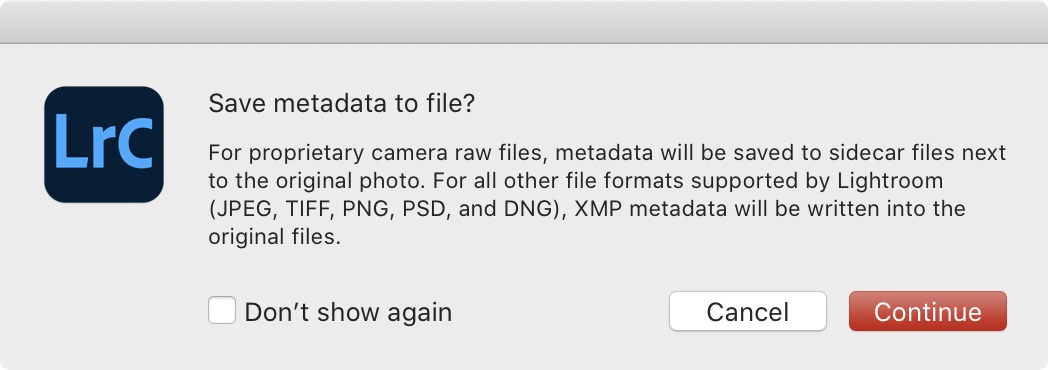
Lightroom will ask confirmation, giving you details about what it’s going to do.
Click “Continue” to confirm.
✅ Done !
What’s the result ?
After a click on “Continue”, a “sidecar” XMP file will be added next to you Raw image location on your hard drive, holding Raw settings for the image.
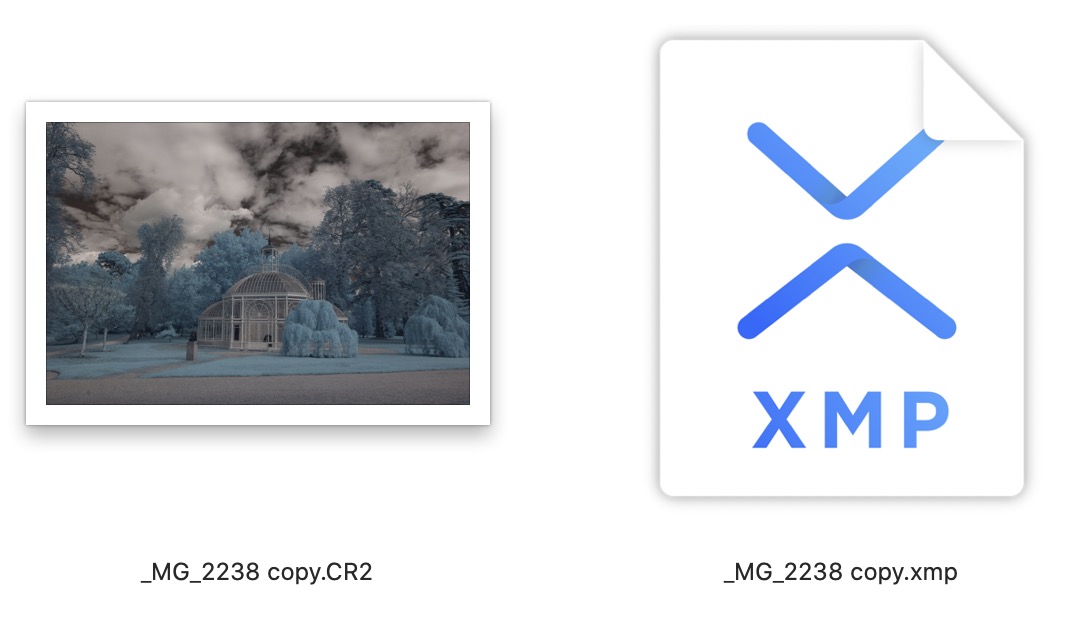
When we ask Lightroom to save metadata, the XMP file is created alongside on the hard drive. This file holds Lightroom settings.
You could also embed these into the file if it was a DNG file, but that’s another subject…
Our “Lightroom-edited image” successfully opened in Photoshop, thanks to the sidecar XMP file.

Bottom line about Lightroom to Photoshop round-tripping
When you edit a Raw file in Lightroom, image settings are contained in LR database-catalog.
To sync an image settings to itself when you want to open it outside of Lightroom (Photoshop in this case), you need to use “Save Metadata to File” on your image.
That’s a wrap ! Hope you found this useful. Cheers !